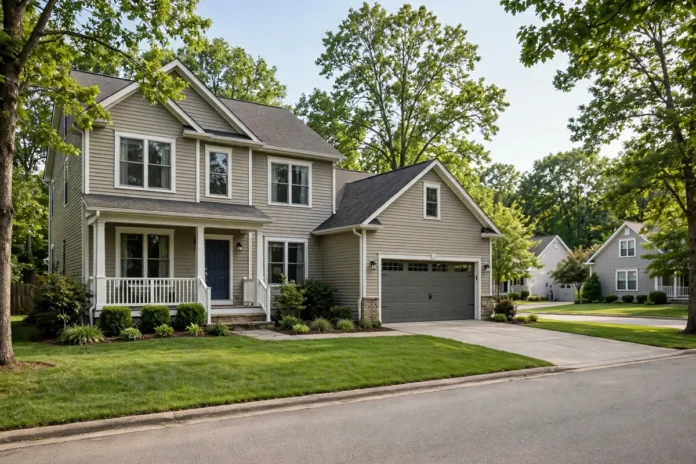
Buyers decide how they feel about a house within seconds of walking in — and these days, even earlier, from the listing photos on a phone screen. Staging is simply the work of making sure that first impression is the right one: not decorating the house to your taste, but presenting it so a stranger can instantly imagine living there. It does not require a designer’s budget. Most staging is subtraction — removing, cleaning, neutralising — plus a short list of small additions that photograph beautifully. Here is how to do it, in the order that makes the biggest difference.
Why staging works (and what it is not)
A furnished, calm room tells a buyer three things an empty or cluttered one cannot: how big the space really is, what it is for, and that the home has been cared for. Staging is not hiding defects — anything dishonest surfaces in inspection and poisons trust — and it is not a renovation. Think of it as editing: the house stays the same, but everything that distracts from it goes. Sellers who have already read up on upgrades that add value will recognise the overlap: staging and value-adding are cousins, but staging is far cheaper.
Step 1: Declutter and depersonalise
This is the highest-impact, lowest-cost step of all. Work room by room and remove: excess furniture (one piece too many makes every room smaller), family photos and personal collections, fridge magnets and paperwork, toiletries from bathroom surfaces, and anything stored on floors or worktops. Aim for the “good hotel” standard — surfaces mostly clear, closets and cupboards tidy enough that a buyer who opens them (they will) sees space, not overflow. What you remove has to go somewhere: a storage unit or a friend’s garage beats a packed garage, which buyers also inspect.
Step 2: Deep clean and quick fixes
Staging fails on details: a grimy grout line or a dripping tap whispers “deferred maintenance” louder than any brochure. Deep-clean everything including windows (clean glass visibly brightens rooms), skirting boards and light switches. Then fix the small stuff buyers notice on a viewing: squeaking doors, loose handles, dripping taps, cracked switch plates, blown bulbs. Replace every bulb with the same warm-white tone so rooms feel consistent, and touch up scuffed paint — if a whole room needs repainting, a warm neutral is the staging standard for a reason.
Step 3: Stage room by room
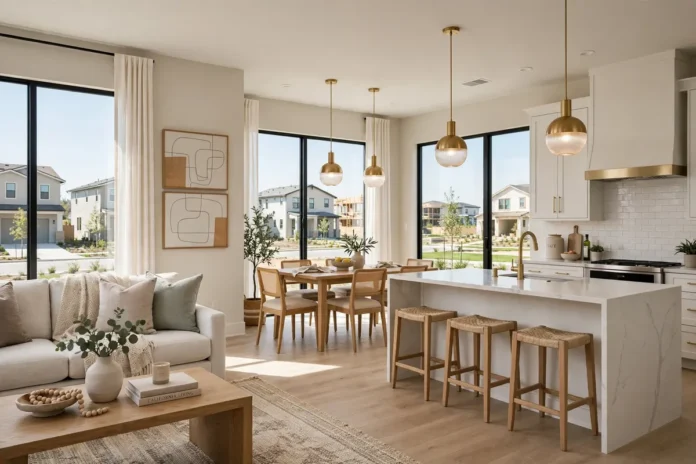
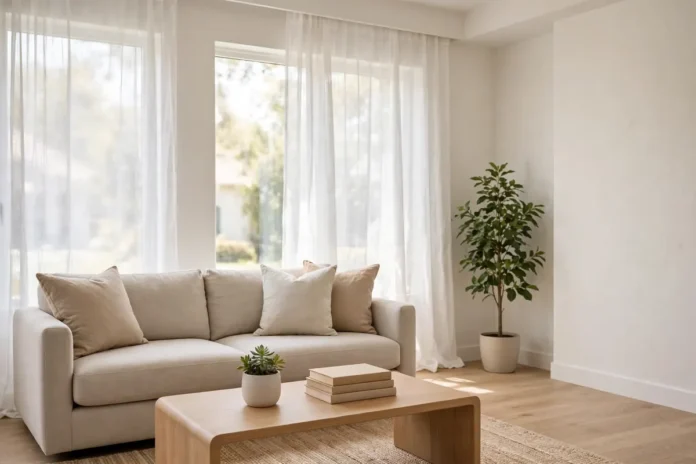
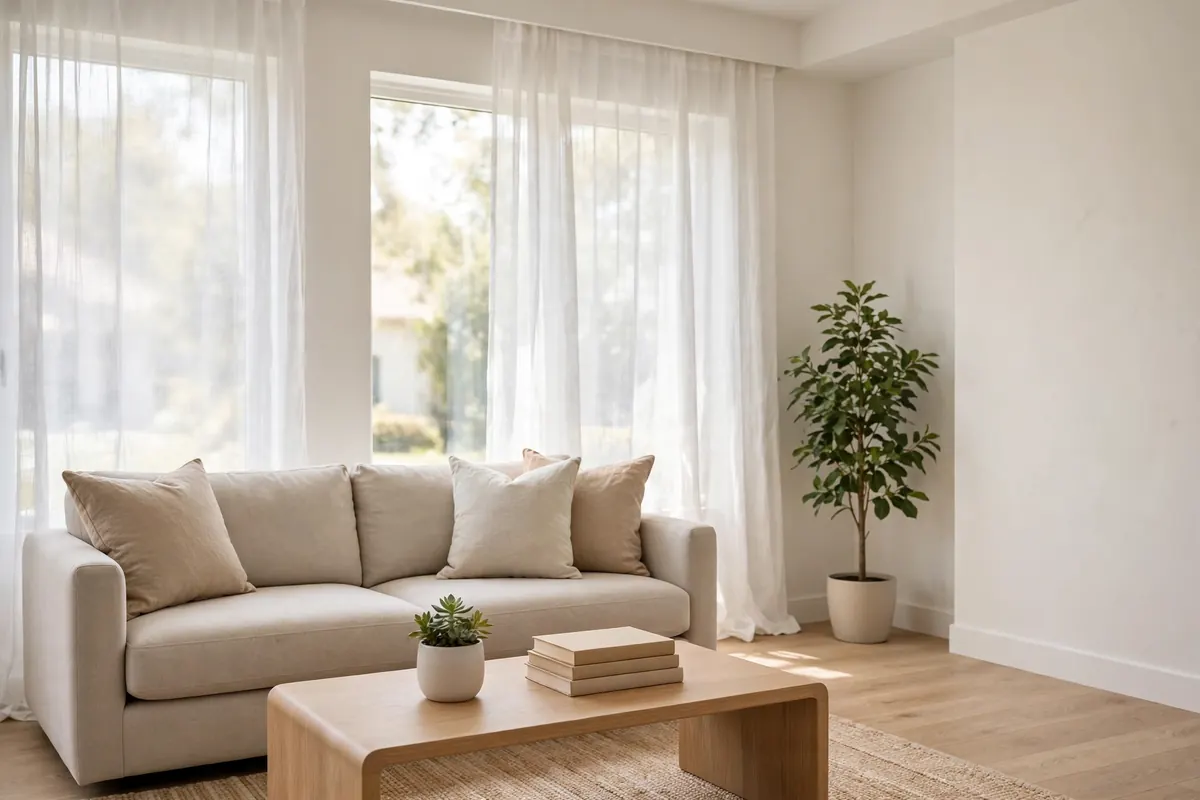
Living room. Arrange furniture for conversation and flow, not around the television; pull pieces slightly off the walls to make the room feel larger, and leave one clear focal point (fireplace, window, artwork). One plant and a small stack of books on the coffee table is enough.
Kitchen. Clear worktops almost completely — one appliance maximum, ideally none — then add a single bowl of fruit or a small herb plant. Clean inside the oven and fridge; buyers open both.
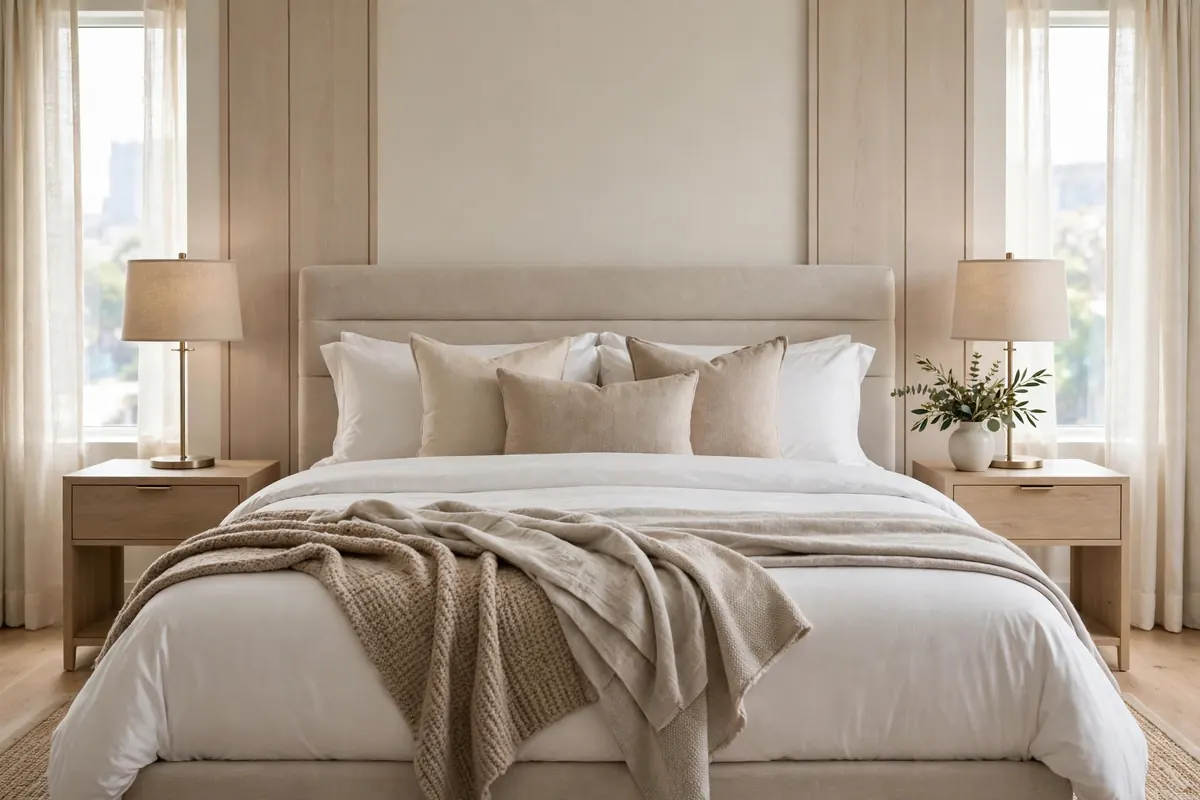
Bedrooms. The hotel formula: white or very light bedding, plump pillows, a folded throw, two matching bedside lamps, nothing personal on the surfaces. In spare rooms, define a purpose — a simple desk or a reading chair — because “room of no purpose” reads as “not enough space.”
Bathrooms. White towels (new ones are cheap staging gold), a small plant, toiletries hidden, mirror polished, and the toilet lid down in every photo and viewing.
Hallway and entrance. This is the first impression itself: clear shoes and coats to a minimum, a mirror to bounce light, and nothing on the floor to step around.
Photos and viewings: the final pass
Most buyers meet your house as a set of phone photos, so photograph after staging, in daylight, curtains fully open, lights on — and take the wide shot from the doorway of each room. If your agent’s photography is weak, it is worth asking what can be improved; the listing photos are the advertisement everything else serves. Before each viewing, run the ten-minute pass: lights on everywhere, windows opened briefly for fresh air, toiletries away, beds made, pets and their bowls out of sight (and ideally out of the house). A clean, neutral scent — open windows, not air freshener battles — completes it. Sellers moving on to their own purchase will find the companion piece on the hidden costs of buying a house worth reading before they set their asking price expectations.
FAQ
Does home staging really help a house sell faster?
Staged homes consistently photograph better and make stronger first impressions, which is what drives viewing numbers and offers. The biggest wins come from decluttering, cleaning and light — all inexpensive.
How much does home staging cost?
DIY staging costs little more than storage, cleaning supplies, fresh towels and a few plants. Professional staging costs more — especially with rented furniture — but for vacant homes it can transform empty rooms that buyers struggle to read.
Should I stage an empty house?
If possible, yes, at least the main rooms. Empty rooms look smaller in photos and give buyers no sense of scale or purpose; even minimal furniture fixes both problems.
What is the most important room to stage?
The living room and the master bedroom sway buyers most, followed by the kitchen. But the entrance and hallway matter disproportionately — they set the emotional tone for everything after.