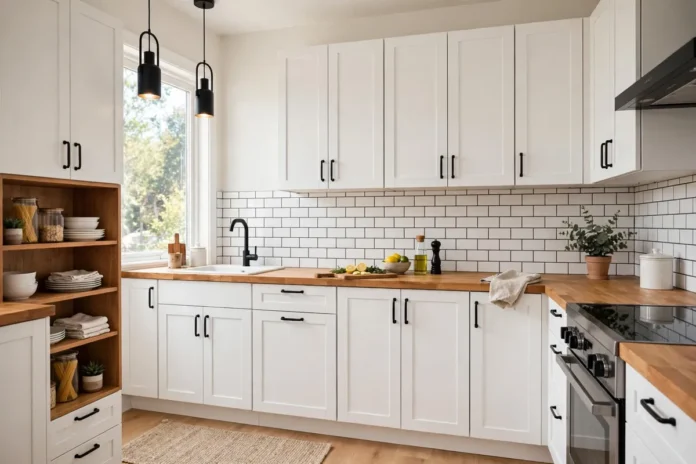
A full kitchen remodel can easily cost $30,000 or more, but the kitchens people admire most rarely got there in one giant leap. The smartest budget kitchen updates focus on the surfaces your eye lands on first — cabinets, lighting, hardware and the backsplash — and most of them can be finished in a weekend with basic tools.
Below are ten updates that consistently deliver the biggest visual change per dollar. Work through the first five and your kitchen will look like a different room; do all ten and most guests will assume you hired a contractor. Total spend for the full list can stay under $1,000 if you shop carefully.
Start With a Plan, Not a Shopping Cart
The most common budget mistake is buying supplies for five projects and finishing none of them. Walk through your kitchen with a notepad and score each element — cabinets, counters, backsplash, lighting, faucet, walls — from “fine” to “embarrassing.” Then rank by visibility. Cabinets usually win because they cover the largest surface area in the room, which is why updates one and two sit at the top of this list.
Set a firm total budget before you begin, and keep $50–$100 of it unassigned. Older kitchens always hide a surprise: a stripped screw, a water stain under the sink, a wall that needs patching. A small contingency keeps one surprise from stalling the whole project.
1–2. Paint the Cabinets and Swap the Hardware
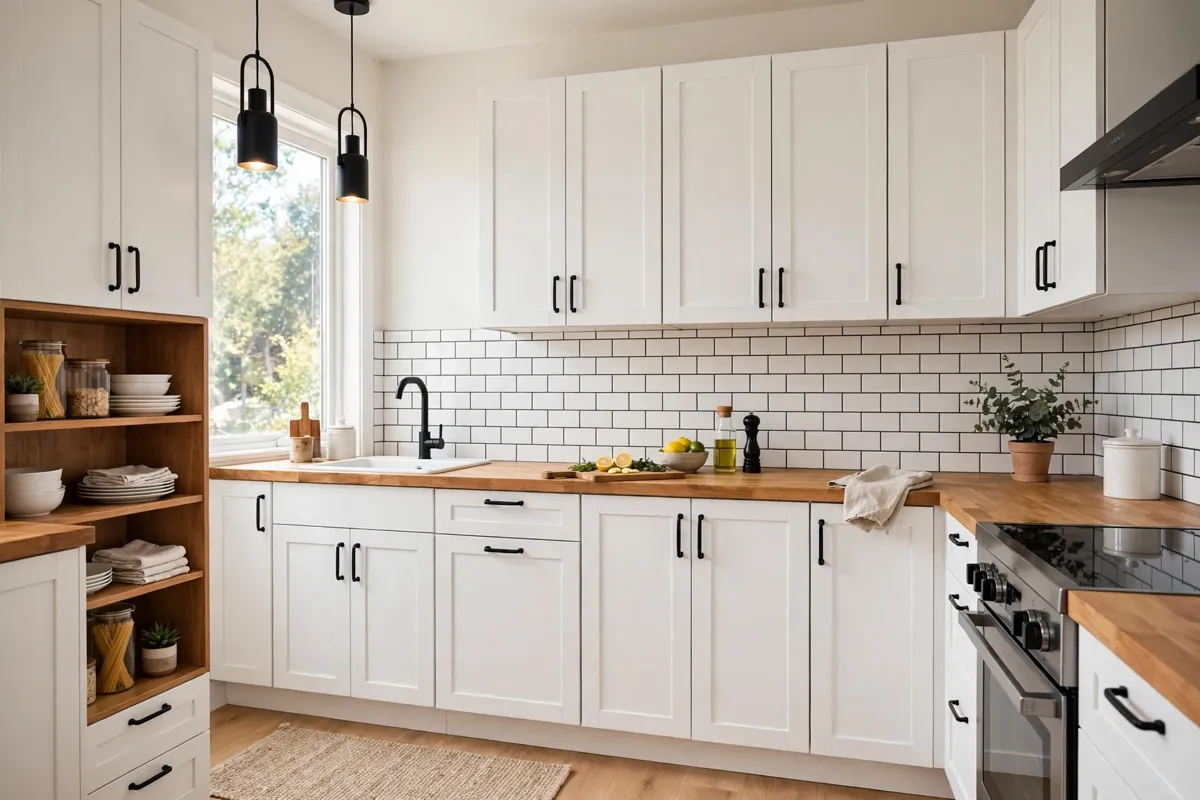
Painting cabinets is the single highest-impact budget update there is. A tired oak or dark-stained kitchen becomes bright and modern with two coats of quality cabinet paint, and the materials cost is modest: roughly $60–$120 for degreaser, sandpaper, primer and a gallon of satin or semi-gloss cabinet enamel — enough for an average kitchen.
The process matters more than the paint. Remove doors and drawers, label every piece, wash everything with a degreaser such as TSP substitute, sand lightly with 120-grit then 220-grit paper, and wipe down with a tack cloth. Prime with a bonding primer, then apply two thin coats, sanding lightly between them. Budget a full weekend: about 3–4 hours of prep, and the rest in painting and drying intervals. If you have never painted anything before, our step-by-step guide on how to paint a room like a pro covers the same cutting-in and rolling technique that makes cabinet doors come out smooth.
While the doors are off, replace the hardware. New handles and knobs cost $2–$8 each, and swapping dated, ornate pulls for simple bar pulls in brushed brass, matte black or brushed nickel instantly modernizes the room. If the new handles have a different screw spacing than the old ones, fill the old holes with wood filler before painting — it takes ten minutes and saves a visible patch job later. Total for update two: roughly $50–$150 for a typical 15–20 piece set.

3–5. Refresh the Backsplash, Counters and Faucet
A backsplash is a small area with outsized influence. Real tile is affordable if the area is small — basic subway tile often runs $2–$5 per square foot — but peel-and-stick tiles have become genuinely convincing and need no wet saw or grout. Expect $40–$150 either way, and one afternoon of work. Measure twice and dry-lay your first row; the most common beginner mistake is starting in the middle of the wall and ending with a sliver of tile at the counter edge.
Countertops are the one surface where a full replacement breaks the budget, so refresh instead. Countertop refinishing kits ($50–$100) can turn stained laminate into a clean stone-look finish that lasts several years. Butcher-block counters from home centers are the step-up option at roughly $150–$300 for a small kitchen, and they can be cut with a circular saw and sealed with mineral oil. Either route beats living with burned, peeling laminate.
Finally, the faucet. A modern pull-down faucet costs $80–$200 and installs in under an hour with a basin wrench: shut off the water under the sink, disconnect the old supply lines, drop in the new faucet and reconnect. It is the one “plumbing” job most homeowners can safely do themselves — just keep a bucket and towel underneath for the water left in the lines.
6–8. Fix the Lighting and Open Up the Shelves
Bad lighting makes even expensive kitchens look cheap. Most older kitchens rely on a single ceiling fixture with harsh, yellow light. Three fixes, in order of cost:
- Under-cabinet LED strips ($20–$50): Peel-and-stick strips under the upper cabinets light your work surfaces and make the backsplash glow. Plug-in versions need no electrician.
- Swap the ceiling fixture ($50–$150): A simple flush-mount or a pair of pendants over an island changes the room’s whole mood. Turn the breaker off and test with a voltage tester before touching any wires — if you are at all unsure, this is the one job to hand to an electrician.
- Better bulbs (under $20): Use consistent 3000K–4000K LED bulbs in every fixture. Mixed color temperatures are a subtle reason many kitchens feel “off.”
Update eight is nearly free: remove two or three upper cabinet doors, paint the cabinet interiors a contrasting color, and style the shelves with your everyday dishes and a few plants. Open shelving forces a little tidiness, but it visually enlarges a small kitchen. Not sure you will like it? Live with the doors off for a week before committing — the hinges can go back on in minutes.
9–10. Paint, Declutter and Style the Room
A gallon of paint for the walls ($30–$60) ties the whole project together. Warm whites and soft greiges make painted cabinets look intentional rather than improvised. Celebrity kitchens lean on the same principle at a different scale — the chef’s kitchen inside Steve Harvey’s Atlanta mansion works because every surface was chosen to suit large gatherings, and the lesson for a small kitchen is identical: pick finishes for how you actually cook and host, not for a showroom photo.
The last update costs nothing: a ruthless declutter. Clear the counters of everything except three daily-use items, move small appliances into cabinets, decant dish soap into a simple dispenser, and hang one good-looking cutting board or a small piece of art. Add a washable runner rug ($30–$60) in a color that picks up your new hardware, and the kitchen reads as designed rather than accumulated.
What the Full List Costs
Here is a realistic total for all ten updates in an average-sized kitchen: cabinet paint and supplies $60–$120, hardware $50–$150, backsplash $40–$150, counter refresh $50–$300, faucet $80–$200, lighting $70–$200, paint $30–$60, rug and styling $30–$60. That is roughly $410–$1,240, spread over two or three weekends. It is also money that tends to work for you later: as our guide to home upgrades that add real resale value explains, a clean, updated kitchen is consistently one of the features buyers pay a premium for — even when the update was cosmetic.
FAQ
What is the cheapest kitchen update with the biggest impact?
Painting the cabinets. It changes the largest visible surface in the room for roughly $60–$120 in materials, and it makes every other update — hardware, backsplash, lighting — look better.
How long do these budget updates take?
Plan on two to three weekends. Cabinet painting alone needs a full weekend because of drying time between coats; the remaining updates each take between 30 minutes and one afternoon.
Do I need to hire anyone, or is this all DIY?
Almost everything here is beginner-friendly DIY. The only job to consider outsourcing is hardwired electrical work if you are not confident working with wiring — a short electrician visit is money well spent.
Will peel-and-stick backsplash tiles last?
Quality peel-and-stick tiles typically last 3–5 years when the wall is cleaned and degreased before installation. Keep them away from the direct heat zone behind a gas burner, where real tile or a metal splash panel is the safer choice.
None of these updates requires permits, demolition or a contractor’s calendar — just a plan, a free weekend and a little patience with drying paint. Start with the cabinets, and let the room convince you to keep going.