The first weekend of November brings a small ritual to most American homes: the clocks go back. Daylight saving time ended on November 1, 2026, and the “fall back” hour has long been the traditional moment to check the things that quietly guard a house all year — the smoke alarms and carbon monoxide (CO) alarms. Winter is when furnaces run for months, fireplaces come back into use and windows stay shut, so the stakes for both fire and carbon monoxide detection rise together.
The good news is that a full check takes about fifteen minutes, with no tools beyond a step stool, a vacuum cleaner and a pen. Anyone working through a seasonal routine like this fall back home checklist can add the alarms to the same list.

Why the Clock Change Is the Alarm-Check Moment
Smoke alarms and CO alarms only help if they work, and both fail quietly. Batteries die, sensors age out, and dust slowly coats the sensing chamber — none of which announces itself until the alarm chirps at 3 a.m. or, worse, stays silent when it matters. Tying the check to the clock change solves the memory problem: it happens on a fixed date, and the autumn check lands right before the heating season, when fuel-burning appliances run hardest. CO is a gas with no colour, no smell and no taste; a working alarm is the only reliable way to detect it. Fifteen minutes twice a year is a fair trade for that.
How to Test Each Alarm, Step by Step
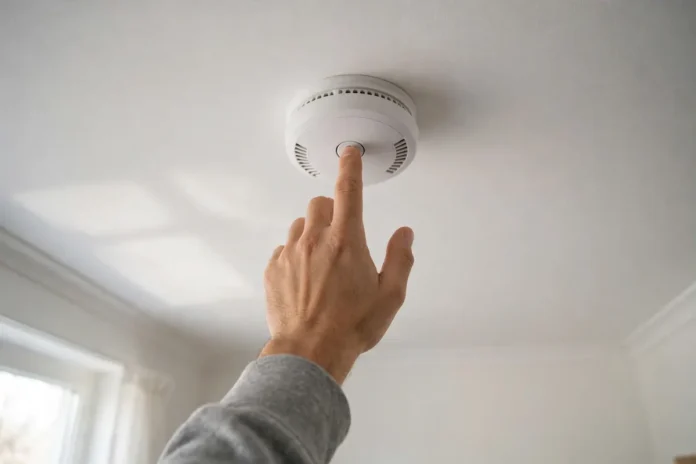
Testing is simple, but it has to be done properly:
- Warn the household first. A test is loud by design. Tell everyone in the house, and give pets a closed room or a trip outside.
- Press and hold the test button. Keep it held until the alarm sounds — a loud, piercing series of beeps — usually within a few seconds.
- Listen for strength, not just sound. A strong, steady alarm is a pass. A weak, warbling or intermittent sound means the battery is low or the unit is failing — deal with it the same day, not next week.
- Check that linked alarms respond. In homes with interconnected alarms, triggering one should set off the others. Walk through the house and confirm each unit sounds.
- Never test with real smoke or a flame. Holding a lit match under a smoke alarm can damage the sensor and proves nothing about the electronics. The test button checks the full circuit, horn included.
For CO alarms, the button checks the electronics and horn, but the gas sensor itself can only be judged by its age and condition — which is why the date stamp, covered next, matters so much for these units.
Check the Date Stamp: Replacement Rules
Every alarm has a manufacture date printed on the back or side of the unit. Twist the alarm off its mounting plate and read it. The rules are firm:
- Smoke alarms: replace every 10 years from the manufacture date, whether they still beep or not. The sensors degrade over time and become unreliable.
- CO alarms: replace every 5 to 7 years, depending on the manufacturer — the exact figure is printed in the manual and often on the unit itself. Many newer CO alarms display an “end of life” warning when the sensor expires.
- Batteries: replace once a year in alarms that take replaceable batteries, unless the unit is a 10-year sealed model, which is replaced whole at the end of its life.
If an alarm has no visible date, replace it — an alarm of unknown age should be treated as an expired alarm.
Placement: Where Alarms Belong
A working alarm in the wrong place is only half a defence:
- Smoke alarms inside every bedroom, outside each sleeping area (in the hallway), and on every level of the home, including the basement.
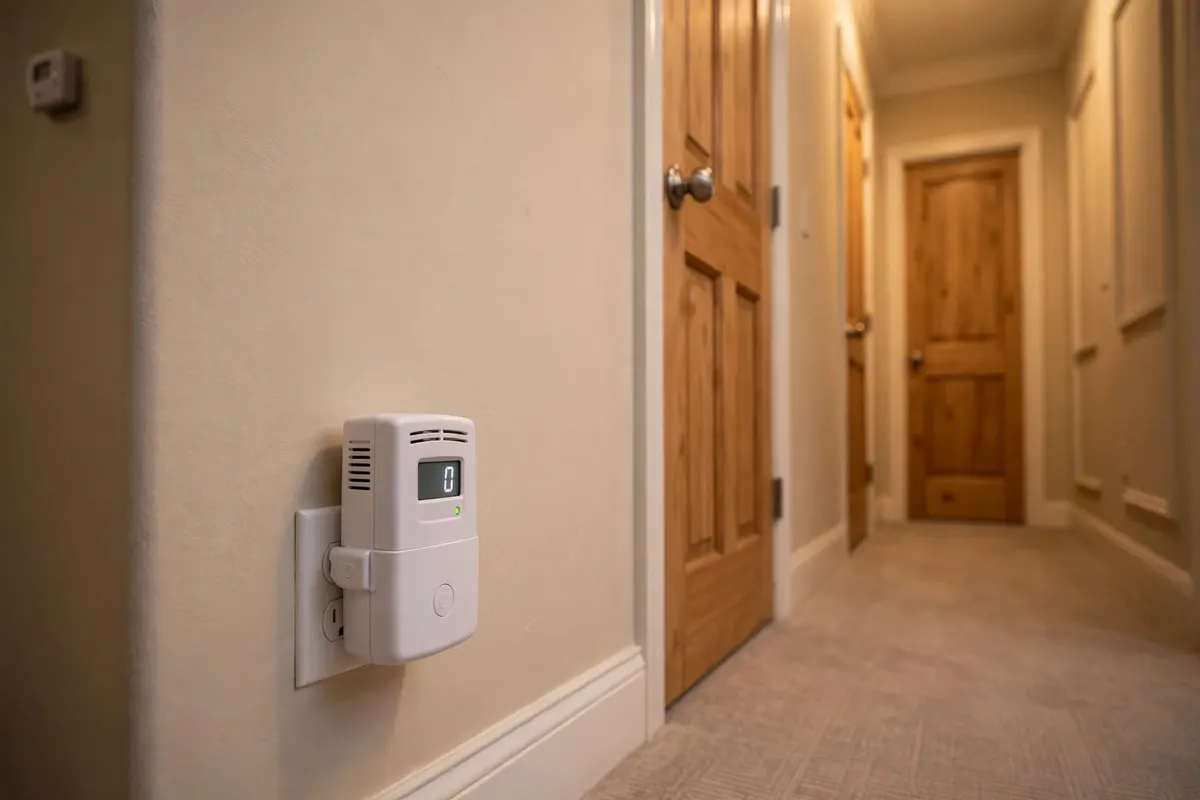
- CO alarms on every level and near sleeping areas, so they can wake the household. Place them near fuel-burning appliances — the furnace, water heater, fireplace and attached garage are the usual sources — but a few feet away from the appliance itself, since sitting right next to a running burner can cause nuisance readings and shorten sensor life.
- Mount smoke alarms on the ceiling or high on a wall, away from corners. Keep them a sensible distance from kitchens and bathrooms, where fumes and steam cause false alarms that tempt people to disable the unit.
Homes with fireplaces or wood stoves should double-check the alarms on the same level as the appliance — pairing this check with the guidance in this guide to fireplace and chimney safety covers both the fire and its by-products.
Interconnected and Hardwired Alarms
In many homes the alarms are interconnected — when one detects a problem, all of them sound. This matters most at night and in larger houses, where a lone basement alarm may never wake anyone upstairs. Wireless interconnected models add this protection to older homes without new wiring.
Hardwired alarms, common in newer construction, run on household power but must have battery backup, and the backup battery needs the same yearly check as any other. A replacement hardwired unit should be the same type, so it plugs straight onto the existing harness. When replacing any alarm, write the installation date on the new unit with a marker — future checks become a glance instead of a guessing game.
Chirps, Dust and the Two Things Never to Do
A single chirp every 30 to 60 seconds almost always means a low battery or an end-of-life warning. Replace the battery; if the chirping continues, the unit itself is done. Never remove the battery and leave the alarm empty “until the weekend” — that is exactly how protected homes become unprotected ones.
Dust is the other quiet enemy. Once or twice a year, run a vacuum’s soft brush attachment gently over the vents to clear dust and cobwebs, which can cause false alarms or block smoke from reaching the sensor.
Two firm rules round out the maintenance:
- Never paint over an alarm. Paint seals the vents and ruins the sensor. When a room is being decorated, take the alarm down or mask it carefully — and put it back the same day.
- Never disable a nuisance alarm permanently. If cooking sets it off, use the hush button, improve ventilation, or relocate the alarm slightly — but keep the protection.
Keep a Simple Test Log
A test log sounds bureaucratic until someone asks “when did we last check the alarms?” and nobody knows. A note on the fridge or in a phone — date tested, batteries changed, units replaced — takes seconds to update.
If an Alarm Sounds for Real
A real alarm is different, and the response should be automatic: get everyone out of the house, including pets if they can be gathered without going back inside, and call emergency services from outside or from a neighbour’s home. Never re-enter to investigate, silence the alarm or collect belongings. For a CO alarm with no visible fire, the same rule applies — get out first and let the fire department measure the air with instruments.
Frequently Asked Questions
How often should smoke alarms and CO alarms be tested?
Test every alarm once a month using the test button, and do a fuller check — batteries, date stamps and cleaning — twice a year. The clock changes in spring and autumn are the traditional reminders.
How long do smoke alarms and CO alarms last?
Smoke alarms must be replaced every 10 years from the manufacture date. CO alarms typically last 5 to 7 years depending on the manufacturer. The date is printed on the back or side of each unit.
Where should CO alarms be installed?
On every level of the home and near sleeping areas, so they can wake the household. Place them near fuel-burning appliances such as the furnace or water heater, but not immediately next to the appliance itself.
What does it mean when an alarm chirps?
A single chirp every 30 to 60 seconds usually means a low battery or that the unit has reached the end of its life. Replace the battery first; if the chirping continues, replace the whole alarm.
Can an alarm be tested with real smoke instead of the button?
No. Never use a flame or real smoke to test an alarm — it can damage the sensor. The test button checks the electronics, sensor circuit and horn, which is what the test is for.
What should happen when an alarm sounds at night?
Everyone should leave the house immediately and call emergency services from outside. Nobody should go back in to investigate or silence the alarm, whether it is a smoke alarm or a CO alarm.