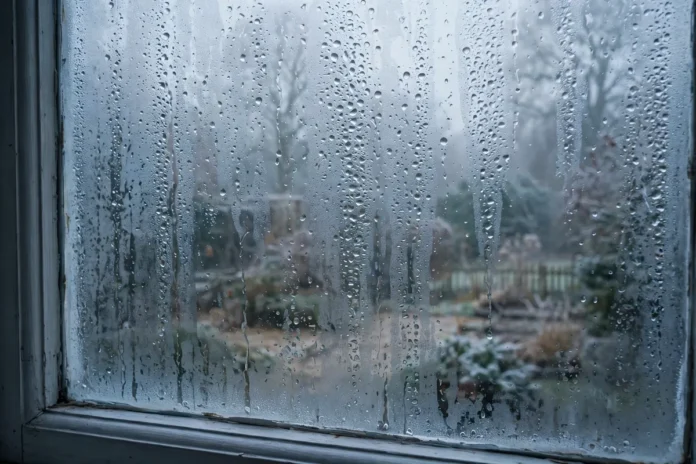
Every winter, the same three emergencies fill plumbers’ and roofers’ schedules: burst pipes, ice dams, and heating systems that quit on the coldest night of the year. Almost all of them are preventable — and the prevention is neither expensive nor complicated. It is a single weekend of work in autumn, done before the first hard freeze rather than during it. This checklist walks through the twelve jobs that matter most, in the order a professional would do them, with honest notes on what you can do yourself and what is worth paying for.

A few hours of preparation in autumn prevents the most expensive winter repairs: burst pipes, ice dams and heat loss.
Start outside: water and gutters
1. Drain and shut off exterior faucets. Disconnect hoses (leaving them attached is the classic cause of split pipes), shut the interior valve for each outdoor tap, then open the tap itself to drain what is left. Fit an inexpensive foam faucet cover for good measure.
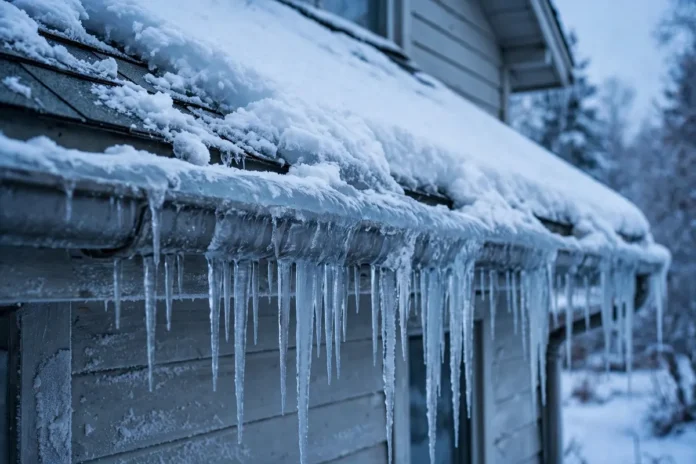
2. Clean the gutters and check the downspouts. Gutters clogged with autumn leaves hold water exactly where you least want it: at the roof edge, where it freezes into ice dams that force meltwater under shingles. Clear them, flush the downspouts, and make sure water exits at least a metre from the foundation.
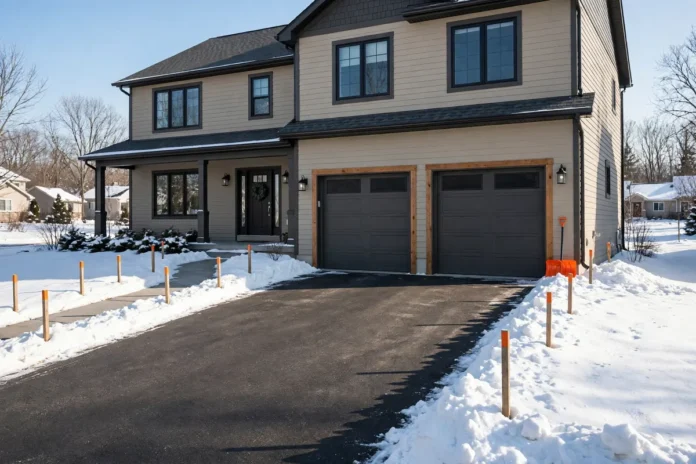
3. Inspect the roof from the ground. With binoculars or just a careful look, check for missing, curled or cracked shingles and damaged flashing around chimneys and vents. Small fixes now are ladder work; the same leak in January is an emergency call-out. The same ladder session can cover several weekend exterior jobs.
Seal the envelope: keep the heat you pay for
4. Hunt down drafts. On a windy day, walk the house with a lit incense stick or the back of your hand around window frames, exterior doors, electrical outlets on outside walls, and the attic hatch. Wherever air moves, heat is leaving.
5. Weatherstrip and caulk. Replace flattened foam or rubber weatherstripping on doors, add a door sweep where you can see daylight, and re-caulk failed joints around window frames outside. These materials cost very little and, together, commonly cut heating waste more than any gadget.
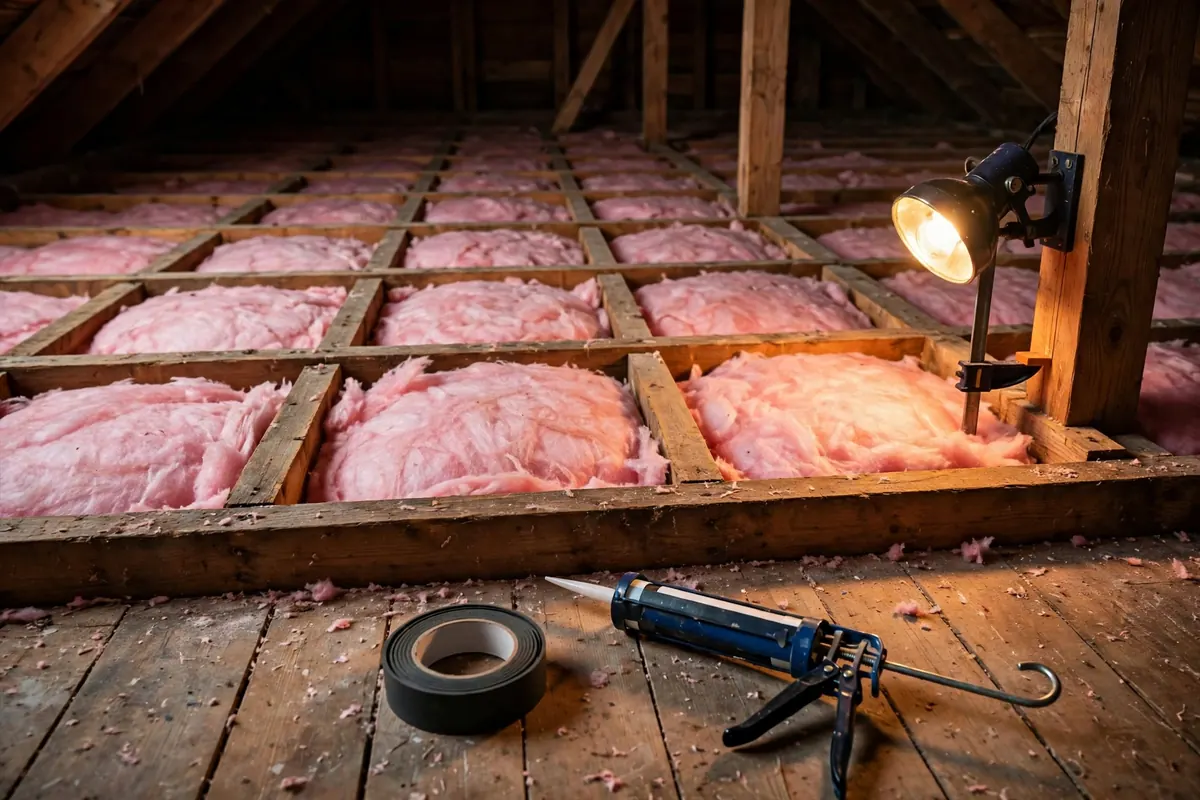
The attic is where winter heat escapes first — insulation and sealing there pay back faster than almost any other job.
6. Check attic insulation. Heat rises, and the attic floor is the ceiling of your living space. As a rule of thumb you want roughly 35–45 cm (14–18 inches) of insulation depth; if you can see the joists clearly, you are probably under-insulated. Seal gaps around pipes, wires and the hatch first — air sealing matters as much as depth — then top up if needed. Insulation is one of the upgrades that add value to a home.
Protect the plumbing
7. Insulate exposed pipes. Pipes in unheated basements, crawl spaces, garages and along exterior walls are the ones that freeze. Foam pipe sleeves are cheap, take minutes to fit, and are the single best burst-pipe insurance there is.
8. Know your main shut-off — and set the “away” rules. Everyone in the household should know where the main water shut-off is before they need it at 2 a.m. If the house will sit empty in cold weather, keep the heating on low rather than off, and shut the water at the main for longer absences.
Heating, fire and air
9. Service the furnace or boiler and change the filter. An annual service catches the failing igniter, cracked heat exchanger or tired blower before the cold does. Between services, a clean filter (every 1–3 months in the heating season) keeps airflow — and efficiency — where it should be.
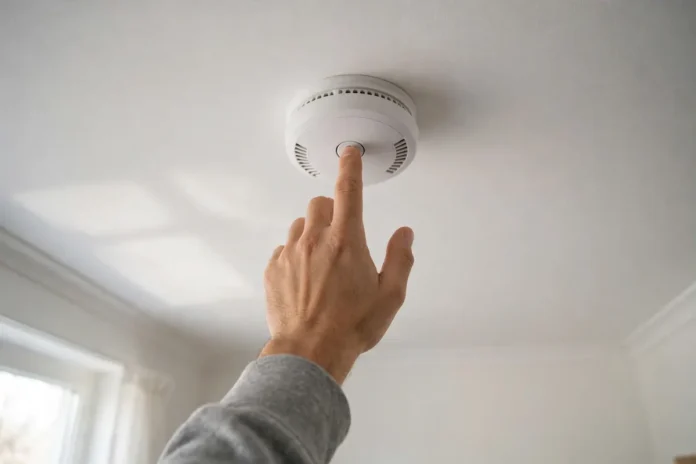
10. Test smoke and carbon monoxide detectors, and sweep the chimney. Heating season is CO season. Test every alarm, replace batteries, and if you burn wood, have the chimney swept and inspected annually — creosote build-up is a fire risk you cannot see from the hearth.
11. Reverse ceiling fans and bleed radiators. Fans should turn clockwise on low in winter, pushing warm air down from the ceiling without a draft. Hydronic radiators that are hot at the bottom and cold at the top need bleeding to release trapped air.
The finishing pass
12. Prepare the outside living spaces and the emergency kit. Store or cover patio furniture, drain and store the hose and any rain barrels, and check that exterior lights work for the dark months. Then assemble the unglamorous kit that turns an outage from a crisis into an inconvenience: torches and batteries, a charged power bank, bottled water, and the number of a plumber and an electrician you have actually used before — written down, not just in a phone that might be dead. Once the outside is buttoned up, turn to indoor projects for the cold months.
What it costs, honestly
Done yourself, items 1, 2, 4, 5, 7, 8, 11 and 12 typically come to little more than the price of weatherstripping, caulk, foam pipe covers and faucet caps. The paid items — a furnace service and a chimney sweep — vary by region but are routine, bookable appointments in autumn and emergency-priced ones in January. That, in one sentence, is the whole argument for winterizing in October instead of improvising in a freeze.
FAQ
When should you winterize your home?
Ideally in mid-autumn, before the first hard freeze — most of the checklist is far easier (and cheaper to outsource) in October than in the middle of winter.
What is the most important winterizing task?
Protecting pipes from freezing and sealing drafts give the biggest protection for the least money: foam pipe insulation, drained exterior faucets, weatherstripping and caulk.
How much does winterizing a house cost?
The DIY portion typically costs very little — weatherstripping, caulk, pipe sleeves and faucet covers. Professional furnace servicing and chimney sweeping cost more but are far cheaper booked in autumn than as winter emergency calls.
Should you turn the heating off if you go away in winter?
No — keep it on low. Turning heating fully off in an empty house is how pipes freeze and burst; for longer absences, also shut off the water at the main valve.